
Convert HTML Template To Next JS
I’ll walk you through converting a plain HTML template into a clean Next.js (App Router) project, explain the key patterns and pitfalls, and give concrete example files you can copy-paste. I’ll assume Next.js 13+ with the app/ router (recommended).
Vivek Rastogi
8/8/20253 min read
STEP 1 — Create the Next.js app
npx create-next-app@latest my-site --app
cd my-site
npm run dev
This scaffolds a Next.js app using the app/ router. Open http://localhost:3000.
STEP 2 — Project structure (what we’ll create)
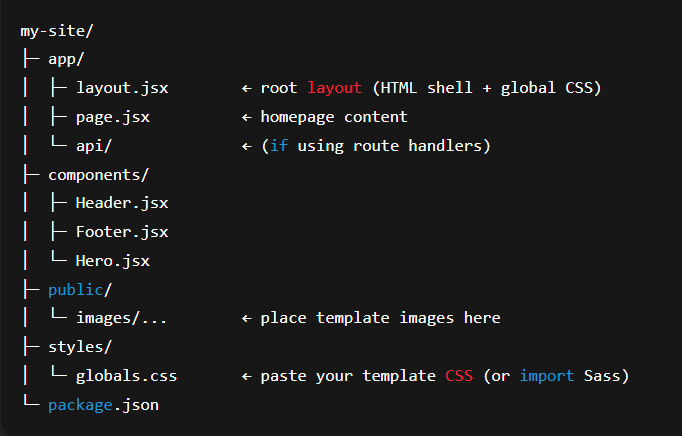
STEP 3 — Move Static Assets
Copy the images / fonts / vendor CSS / JS files from the HTML template into public/ (e.g., public/images/hero.jpg, public/fonts/...).
Public files are served from / (so /images/hero.jpg works).
STEP 4 — Global CSS
If your template has a main CSS file (e.g., assets/css/style.css) move it to styles/globals.css.
app/layout.jsx
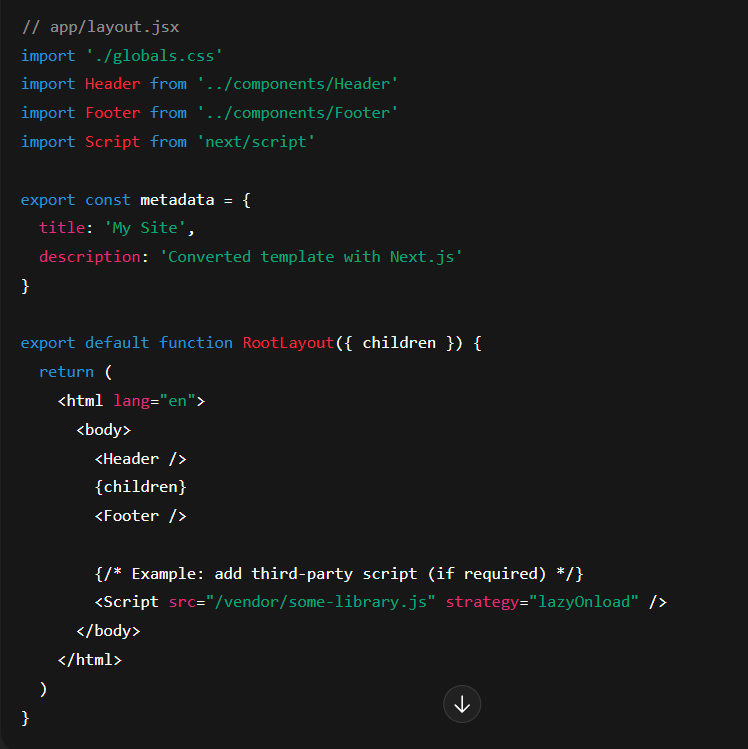
Importing globals.css here ensures styles are available app-wide.
Step 5 — Convert index.html → app/page.jsx
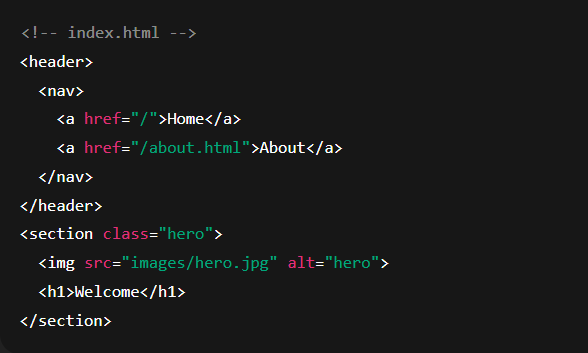
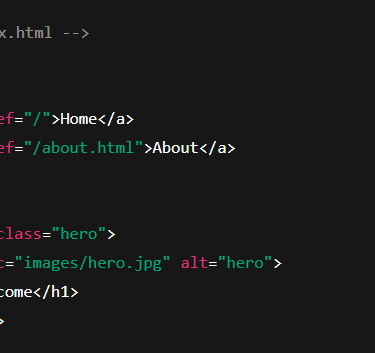
Take the <main> part of your HTML and turn it into JSX. Remember common conversions:
class → className
for (labels) → htmlFor
Self-close tags: <img />, <input />
Replace <a href="/"> with next/link where appropriate
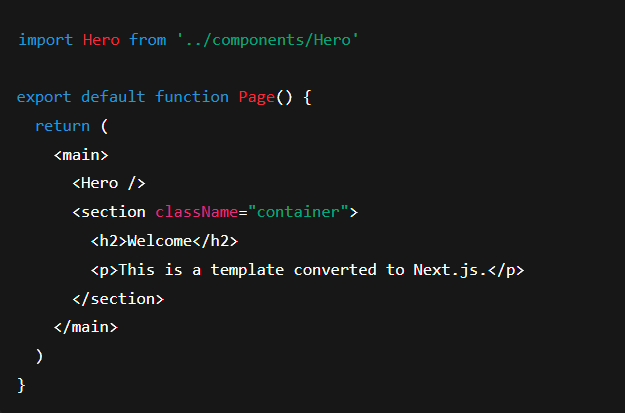
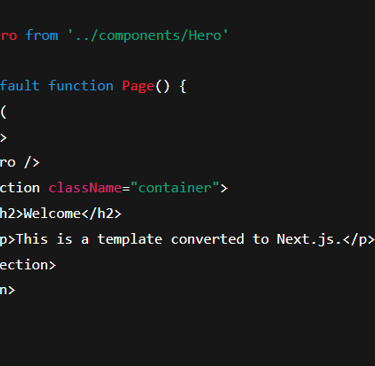
Example original snippet of HTML file
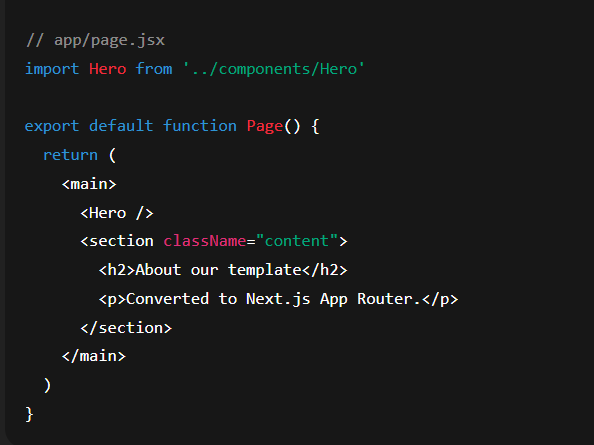
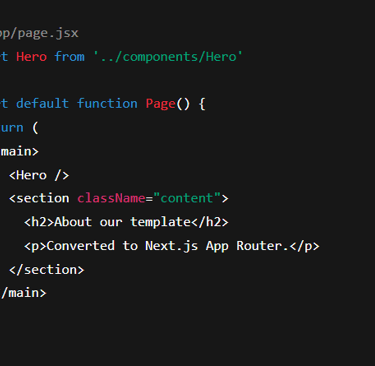
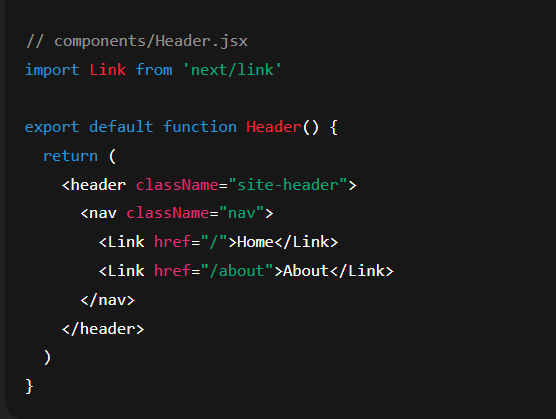
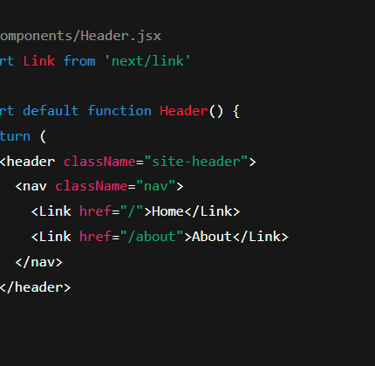
Converted to Next
Step 6 — Break the template into components
Create presentational components for Header, Footer, Hero, etc.
components/Header.jsx
components/Hero.jsx
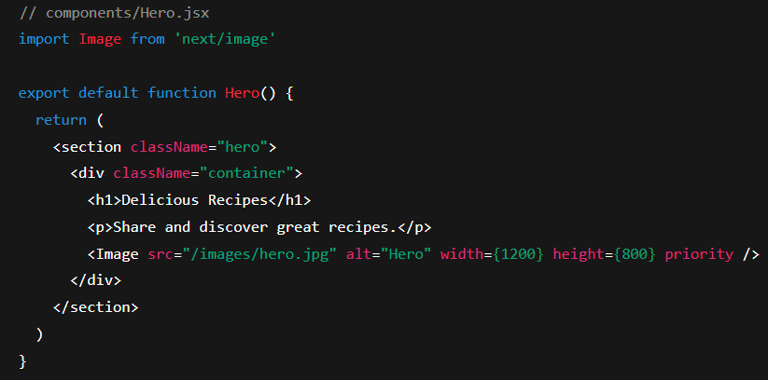
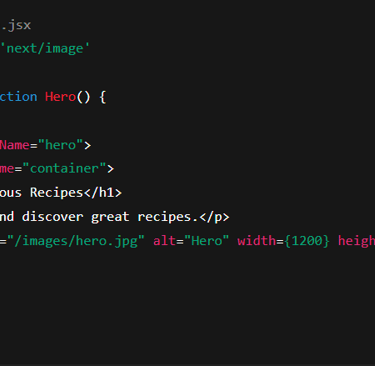
Use next/image for optimized images. Put files into public/images/.
Step 7 — Handling template JavaScript (sliders, plugins, jQuery)
React/Next prefers componentized UI. Options:
A. Replace plugin with React library — e.g., use react-slick instead of initializing a jQuery slick slider.
B. If you must keep the vendor script: import it and run initialization in a client component:

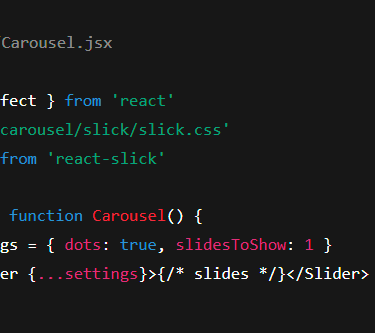
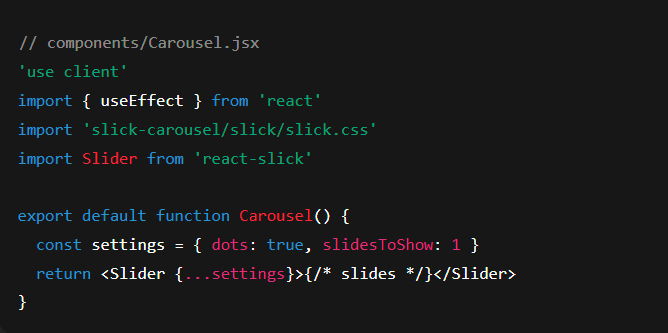
C. For plain vendor scripts: include with <Script> in layout or component and initialize inside a 'use client' component useEffect.
Step 8 — Forms → Next.js API routes
If your template has a contact form submitting to contact.php, convert it to a Next API route:
app/api/contact/route.js
Then submit from the client using fetch('/api/contact', { method: 'POST', body: JSON.stringify(formData) }).
Step 9 — Routing & dynamic pages
Static pages → app/about/page.jsx
Dynamic pages → app/products/[slug]/page.jsx
Create generateStaticParams() in app router for static export prerendered pages if needed.
Step 10 — SEO & Head tags
In the app router, use export const metadata = { ... } in each page.jsx (or set in layout.jsx) to control <title> and meta tags.
Step 11 — Common pitfalls & fixes
No CSS applied: confirm import './globals.css' in app/layout.jsx and path is correct.
class → className: search/replace class=" → className=".
Inline scripts using DOM: Move DOM-manipulating code into a client component with useEffect.
jQuery: avoid—rewrite logic as React components or carefully include jQuery in a client-only component.
Third-party scripts must be client-only: use <Script src="..." strategy="lazyOnload" /> or initialize in useEffect.
Image 404s: ensure files are in public/ and paths start with /.
Step 12 — Deploy
Push to GitHub.
Deploy on Vercel (recommended): import repo; Vercel auto-detects Next.js.
Or use other hosts (Netlify, Render) — follow host instructions.
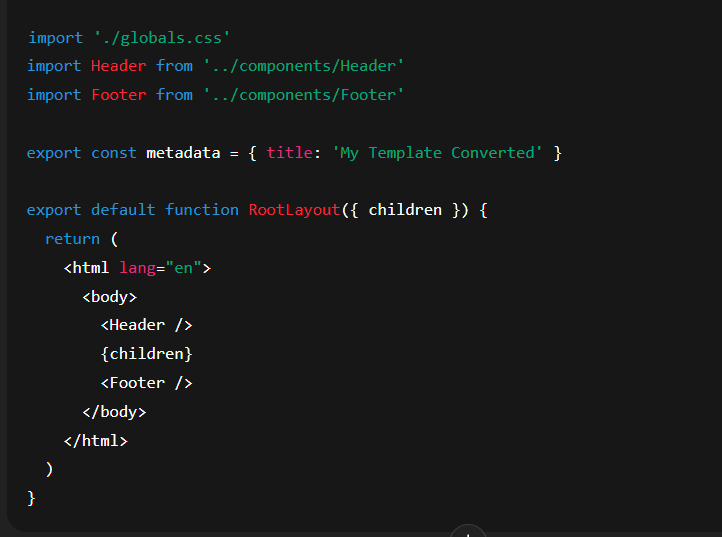
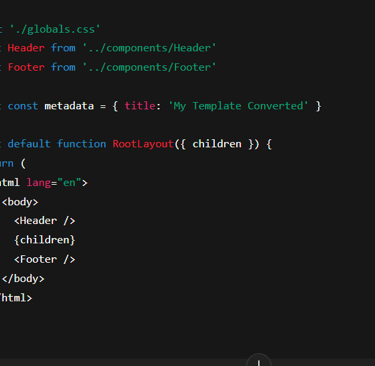
Step 13 — Example: Full minimal files (copy-paste)
app/layout.jsx
app/page.jsx
components/Footer.jsx
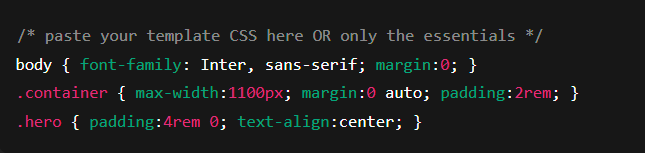
styles/globals.css
Step 14 — Next steps & checklist before you finish
Move all images to /public and replace src paths.
Convert all class → className.
Decide client or server components ('use client' where you use state/effects).
Replace jQuery plugins with React equivalents or wrap them carefully.
Convert form endpoints to app/api/* routes.
Validate SEO metadata, sitemap, and robots.txt if needed.
Test on mobile/responsive breakpoints.